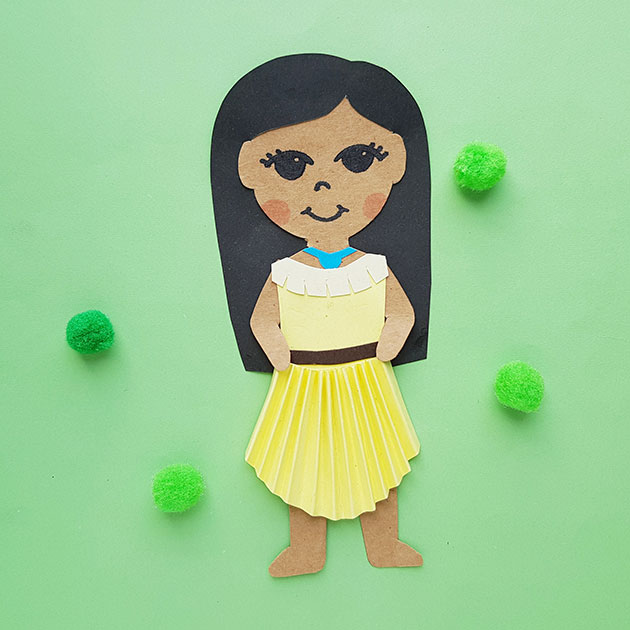
DIY Paper Doll
Here’s a pretty Pocahontas paper doll craft project you can do with the kids. I have been playing some of the songs from Disney’s Pocahontas for Bibi to listen to and I must say that was a very timeless movie. It will be on our list of movies to watch when Bibi is old enough to watch movies and we will definitely revisit this Pocahonta paper craft for ourselves. I hope you enjoy it with your little ones.
XOXO,
Mimi

Pocahontas Paper Craft

A beautiful Pocahontas doll paper craft for kids to make at home. Use it to decorate the playroom or create your own story book.
Active Time
30 minutes
Total Time
30 minutes
Materials
- Colored craft papers
Tools
- Black marker pen
- Craft glue
- Pencil
- Scissors
Instructions
- Select colored craft papers as per the colors of the skin tone, dress and accessories of Pocahontas. Download Pocahontas doll template PDF from the post. Print out. Trace the body base on light brown colored paper, the dress patterns on cream (2 different shades) colored papers, the necklace on blue, the strip on dark brown and the hair on black colored paper. Cut out the traced patterns.
- Cut a slit along the marked lines on the hair pattern.
- Slide the top end of the head part through the slit from the bottom side of the hair. Apply glue to fix the head and the hair together.
- Attach the fringed pattern on the top side of the top part of the dress
pattern. - Take the rectangular pattern and create small and even fringes with it.
- Attach the 2 hand cutouts on both sides of the dress pattern. Also attach the brown stripe near the bottom side of the top pattern.
- Attach the top (along with the hands) on the top side of the body base pattern.
- Take the accordion folded pattern and bring its straight end to the width same as the width of the body base and attach it right below the top
pattern. - Use a black marker pen to draw the eyes, nose and mouth of the paper Pocahontas doll.


Leave a Reply